


On A Quest for Giant Popovers
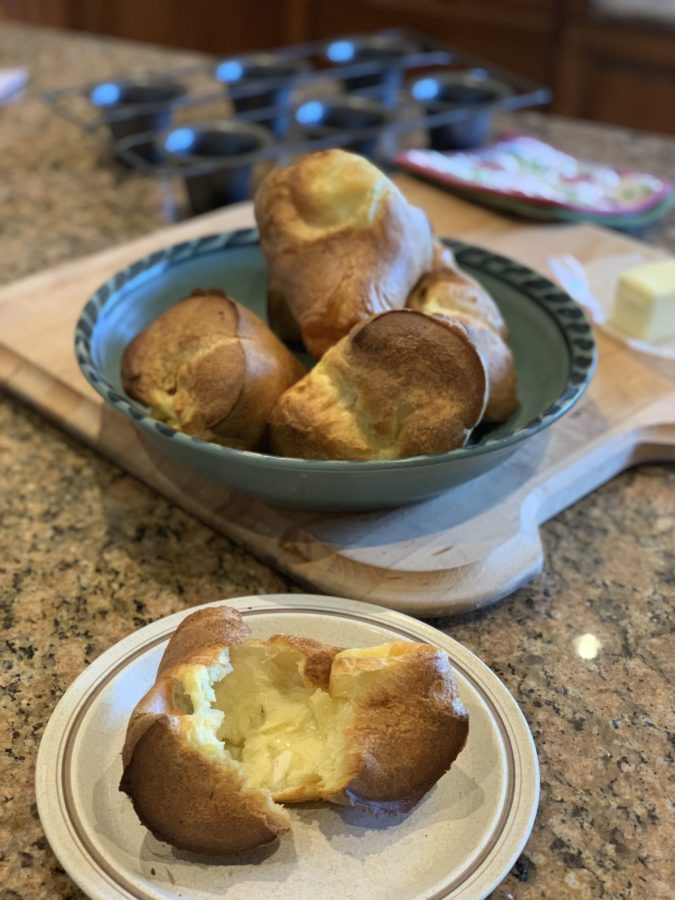
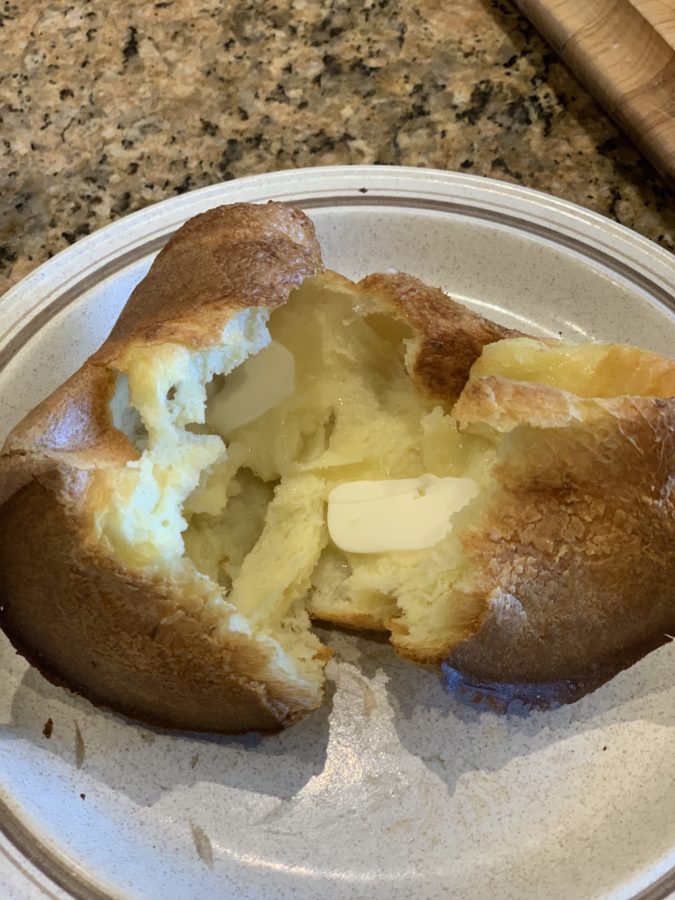
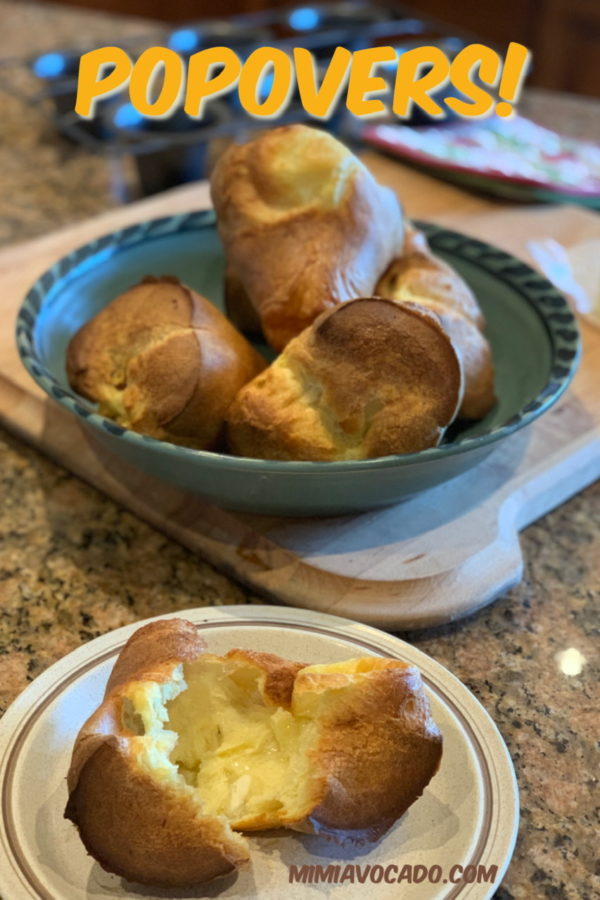
Do you love popovers as much as I do? Piping hot from the oven, crispy on the outside and hollow on the inside…ready to melt the perfect pat of butter. Large enough to stuff with yummy fillings. Popovers that create tasty memories. I was craving popovers, so I started reading recipes, trying them out, and serving a new trial to my family every afternoon. We all became obsessed with achieving the perfect popover.
Recipes and Tips
During the past week I made popovers almost every day, trying a total of seven recipes before we all agreed that we were experiencing the perfect batch of popovers. In the process I learned a few things about making popovers that I’ll share with you. If you follow these tips, there’s a good chance that just about any recipe should work well. If you just want to get to the recipe, scroll down this page.
The subtle variations in the amounts of ingredients called for in other recipes do not make a huge difference. It’s all about warming the eggs and the milk, letting the batter rest, and heating up the pan before you pour in the batter. Do not take shortcuts. Perfect giant popovers aren’t hard to make, but they do require attention to detail.
Popover Pans
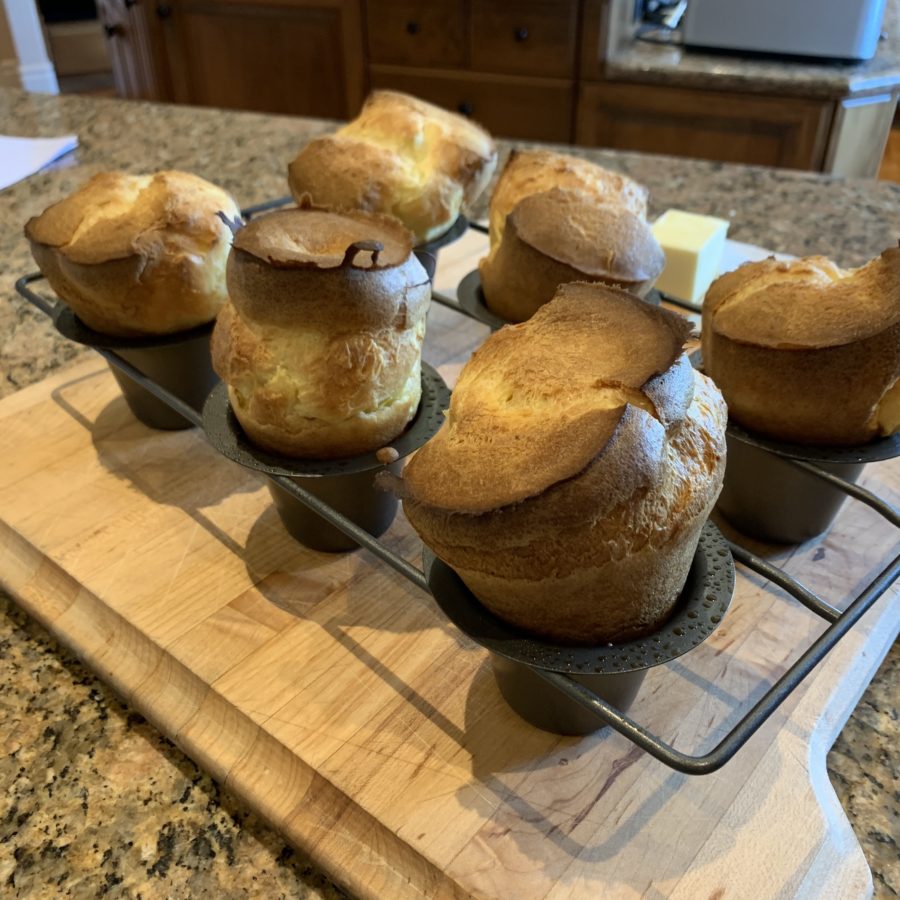
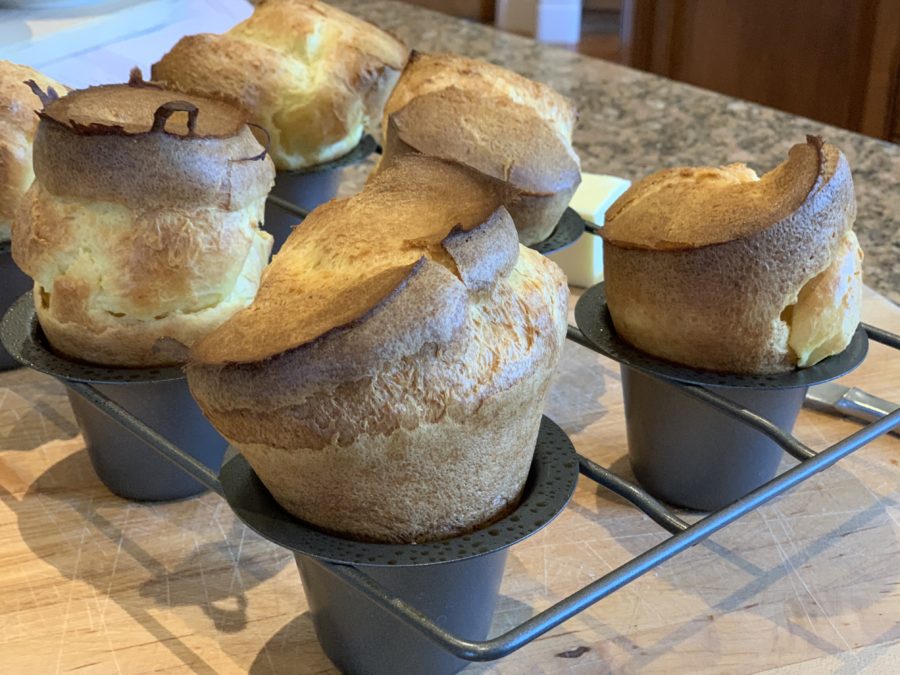
Some folks bake their popovers in muffin pans, and some folks have a special popover pan. You can make mini-popovers if you want, but I wanted to bake giant popovers like the ones they serve in fancy restaurants. The larger the pan, the more batter you’ll need. The recipe I”ll share today will fill one 6-hole popover pan perfectly.
 Baking Tips
Preheat the oven first. Don’t skip this step and try to backtrack. The oven needs to be 450 degrees and it takes a while to get there. Put your popover pan on top of a cookie sheet or pizza stone, then put it into the oven on a low shelf so there’s plenty of room for the popovers to rise. The pan should get really hot while you’re mixing up the popovers.
Warm the eggs and the milk. The easiest way to do this is to put the uncracked eggs into a container of hot water from the tap, then pour out that water and replace with new hot water. While the eggs are warming up, put your cold milk into the microwave for about 45 seconds, just enough to take the chill off without cooking the milk. Then melt the butter. While those things are happening, measure the flour into a mixing bowl.
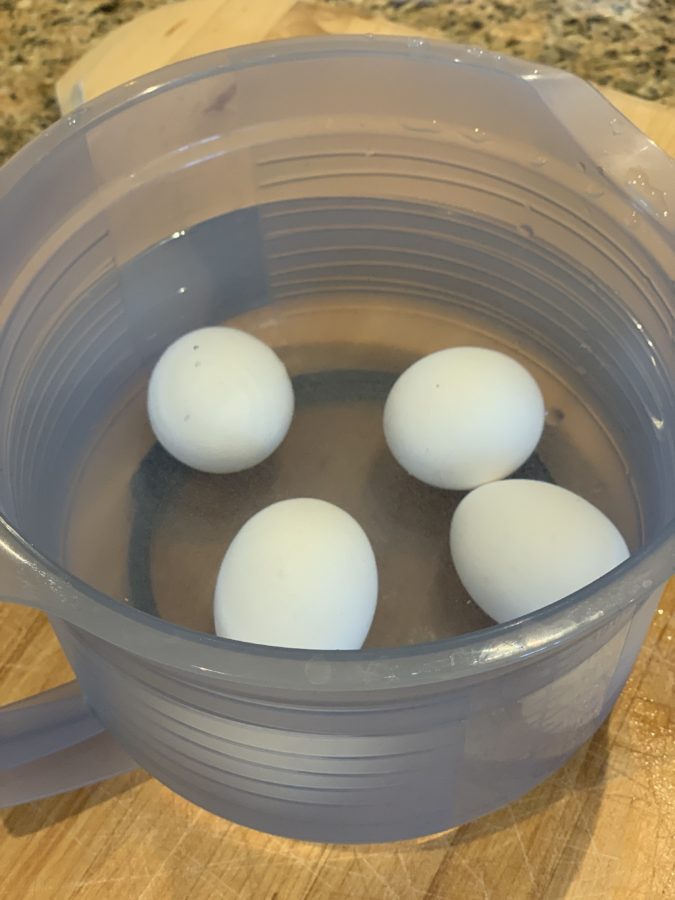
Warm the eggs by placing them into hot tap water for 10-15 minutes
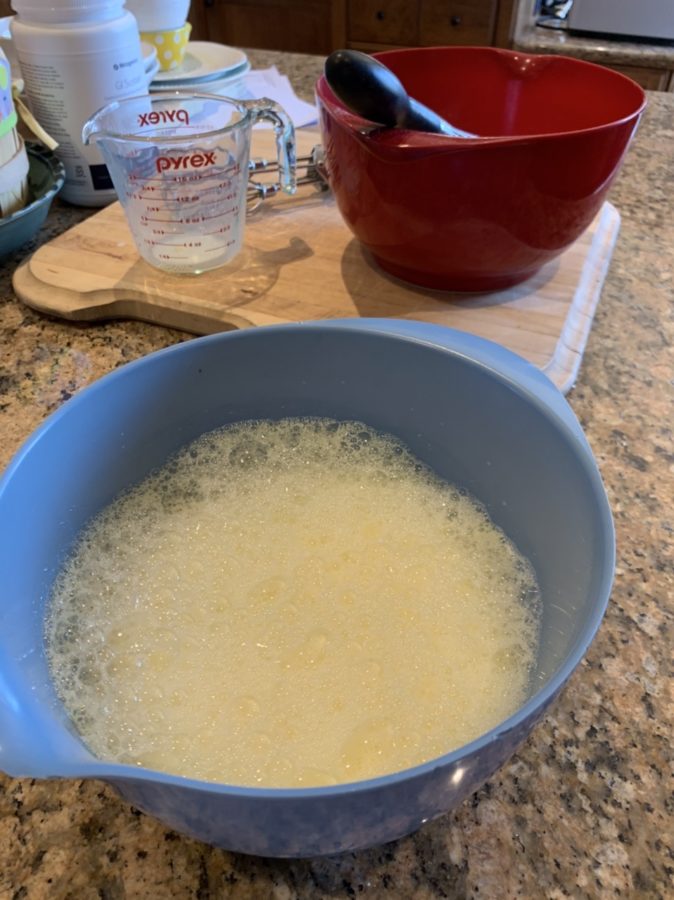
Mix it all together. After the eggs have been sitting in the warm water for about 10 -15 minutes, crack the eggs into a bowl and whisk them (or use an egg beater) until they’re frothy. Add the warmish milk and the salt, whisk together. Add the flour and beat until just smooth. Lastly, add the melted butter and mix well. Now let the batter sit for 10-15 minutes. It should be thin and will pour easily. (One of the recipes I tried required that the milk and flour sit for a whole hour to hydrate the flour. My last batch came out perfectly after resting for just 10 minutes.)
Blender or Electric Mixer You can do all of these steps in a blender or electric mixer, but I like to do it by hand. There’s something about a whisk that is just really therapeutic. When I start making larger quantities of popovers, I’ll probably use a blender to froth is all up quickly.
Prepare the pan. When the oven hits 450 degrees, the popover pans should be really hot too. Take the pan out of the oven, spray each cup with Pam cooking spray, and then quickly pour the batter into the popover cups. Fill them almost full, so that you have enough batter for all 6 of the cups in the pan.
Want to get fancy? Sprinkle a few dried herbs or a bit of grated parmesan cheese on top of each cup.
Bake them now. Put the filled pan into the oven, on top of the hot cookie sheet (or pizza stone). Let them bake (and do NOT open the oven door) at 450 degrees for 20 minutes. Then lower the temperature of the oven to 350 degrees and let them cook for another 20-30 minutes. Repeat: Do not open the oven door at all.
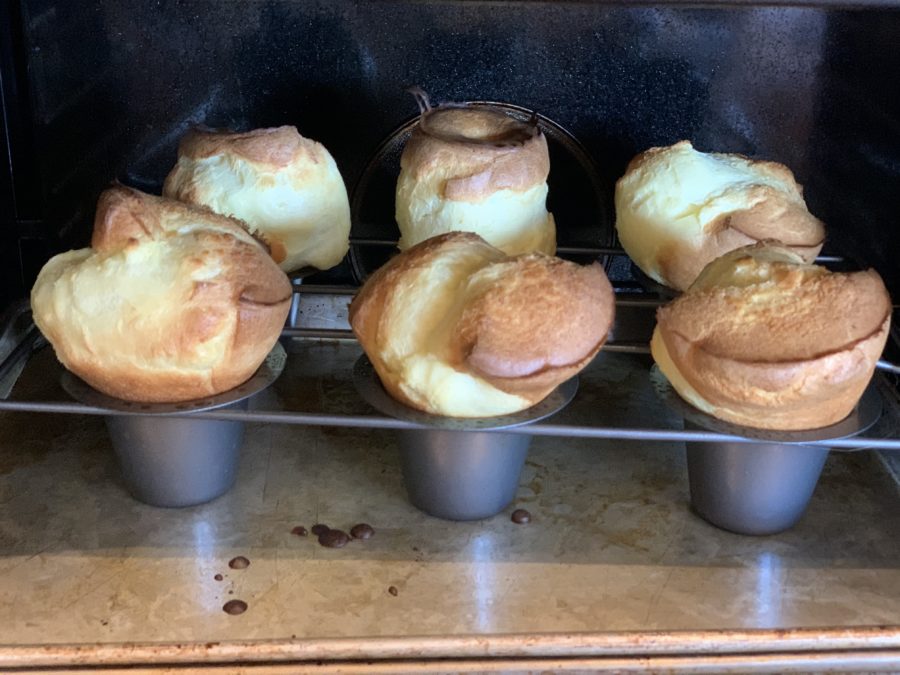
Be Patient. When the popovers are big and puffy and brown on the outside, and you’ve let them bake for 5 minutes longer than you expect is correct, take them out of the oven. The secret to a hollow popover is to cook it long enough. My first several batches came out of the oven too soon – the bottoms were hollow-ish but the tops were like muffins. We want crispy on the outside and hollow on the inside. Be patient and let them bake.
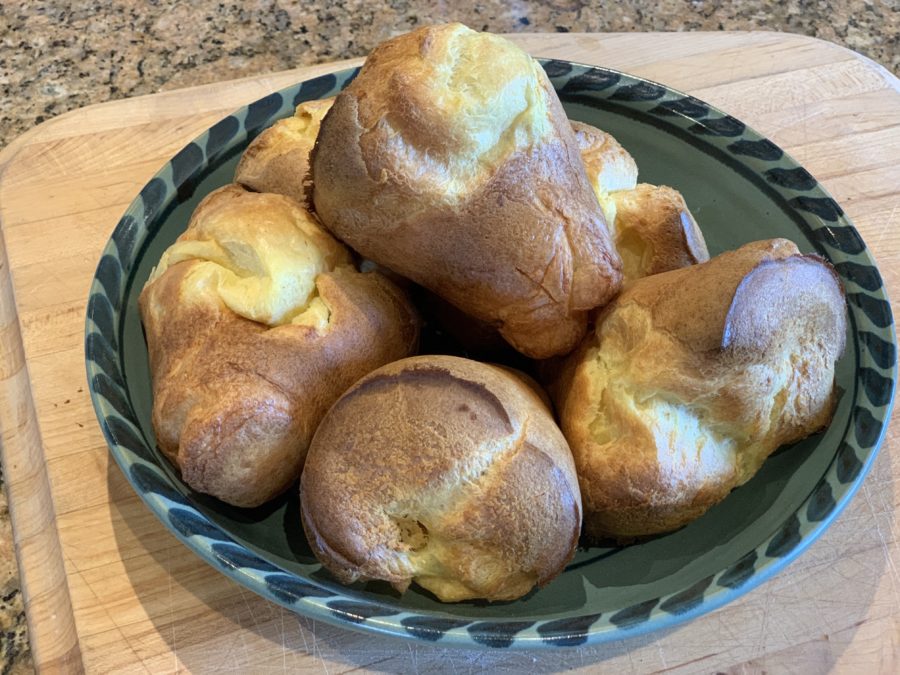
Serve. Tip the pan over and those popovers will fall right out of the pan. Using a paring knife, gently make a small slit on the side near the bottom of each popover. This will let out the steam, and preserve the puffy shape. Serve immediately with butter or jam. Be prepared for everyone to want seconds.
Popovers
Equipment
- large mixing bow
- measuring cups
- bowl for warming the eggs
- pyrex measuring container for warming the milk or use small saucepan on the stovetop
- popover pan or muffin pan
- egg beater
- whisk
- can use electric blender or mixer
Ingredients
- 4 large eggs or 5 medium eggs
- 1 1/2 cups whole milk
- 3/4 teaspoon salt
- 1 1/2 cups all-purpose flour
- 3 Tablespoons melted butter
- Pam cooking spray
- optional dried herbs or graed parmesan cheese
Instructions
- Preheat oven to 450 degrees F, making sure the oven rack is in a low position. Place the popover pan on top of a cookie sheet or pizza stone, and put into the oven while it is preheating.
- Place the uncracked eggs into a medium bowl of very hot water. Let them sit in the warm water for 10 minutes. (Add more hot water after a few minutes.)
- Put the milk into a pyrex measuring cup, and place into the microwave for about 40 seconds, long enough to slightly warm up the milk.
- When the eggs have warmed up, beat them with a whisk or egg beater until frothy. Add the warmed milk and the salt and whisk them together until combined.
- Add the flour to the wet ingredients, and whisk until the batter is just smooth. Stir in the melted butter quickly. Let the batter rest for about 10 minutes.
- Take the popover pan out after the oven has heated to 450 degrees and spray each cup with Pam cooking spray.
- Pour the batter into the hot prepared pan, dividing the batter between the popover cups. Each cup should be at least 3/4 of the way full, or more. Sprinkle on optional herbs or grated cheese.
- Put the pan back into the oven, onto the cookie sheet or pizza stone. Do NOT open the oven door until the popovers are done. Bake the popovers for 20 minutes at 450 degrees F, then reduce the heat to 350 degrees F. Bake another 15-20 minutes. The popovers will rise and become very golden brown.
- Serve immediatley with butter or jam.
Once you get the hang of making popovers, the steps will be easy! Put the pan in the oven and start heating. Get out the eggs and milk and butter. Warm them up. Beat the eggs and milk, add the salt and flour, mix it all together and stir in the butter at the end. Spray the pan, pour in the batter, and bake! Change that oven temperature one time and be patient. Be ready to slather those babies with butter or jam.
One last note: I need to order an additional popover pan. We definitely need more than 6 popovers at a time in this household!
Do you have special memories about popovers? A favorite restaurant that serves particularly memorable popovers? A family recipe that you bake for special occasions? Leave me a comment — I’d love to hear your popover stories. Wishing you happy popover baking!
 Pin the Popovers image below to your Pinterest Board to save this recipe.
10 Comments
Leave a reply →